
Lovely little bums.
No - not a typo. That's was we used to call them growing up.
Every Easter mom would make Easter bunny buns (aka bums) and now every Easter I do the same....
because I'm trying to be as good a mom as mine was/is.
Not an easy act to follow!
Since every step of making this yumiliciousness is beautiful, I thought it necessary to photograph many of the steps.
I wish I could capture the smells to go with the pictures.
Someone needs to invent scratch'n'sniff computer screens.
The smells of fresh orange and yeast.
Oh my goodness.
First, the recipe, because you really are going to want to make these:
1 package yeast (up here you only want to use about a teaspoon or so)
1/4 c warm water
1 c scalded milk
1/3 c sugar
1/2 c shortening (oil would work too)
1 t salt
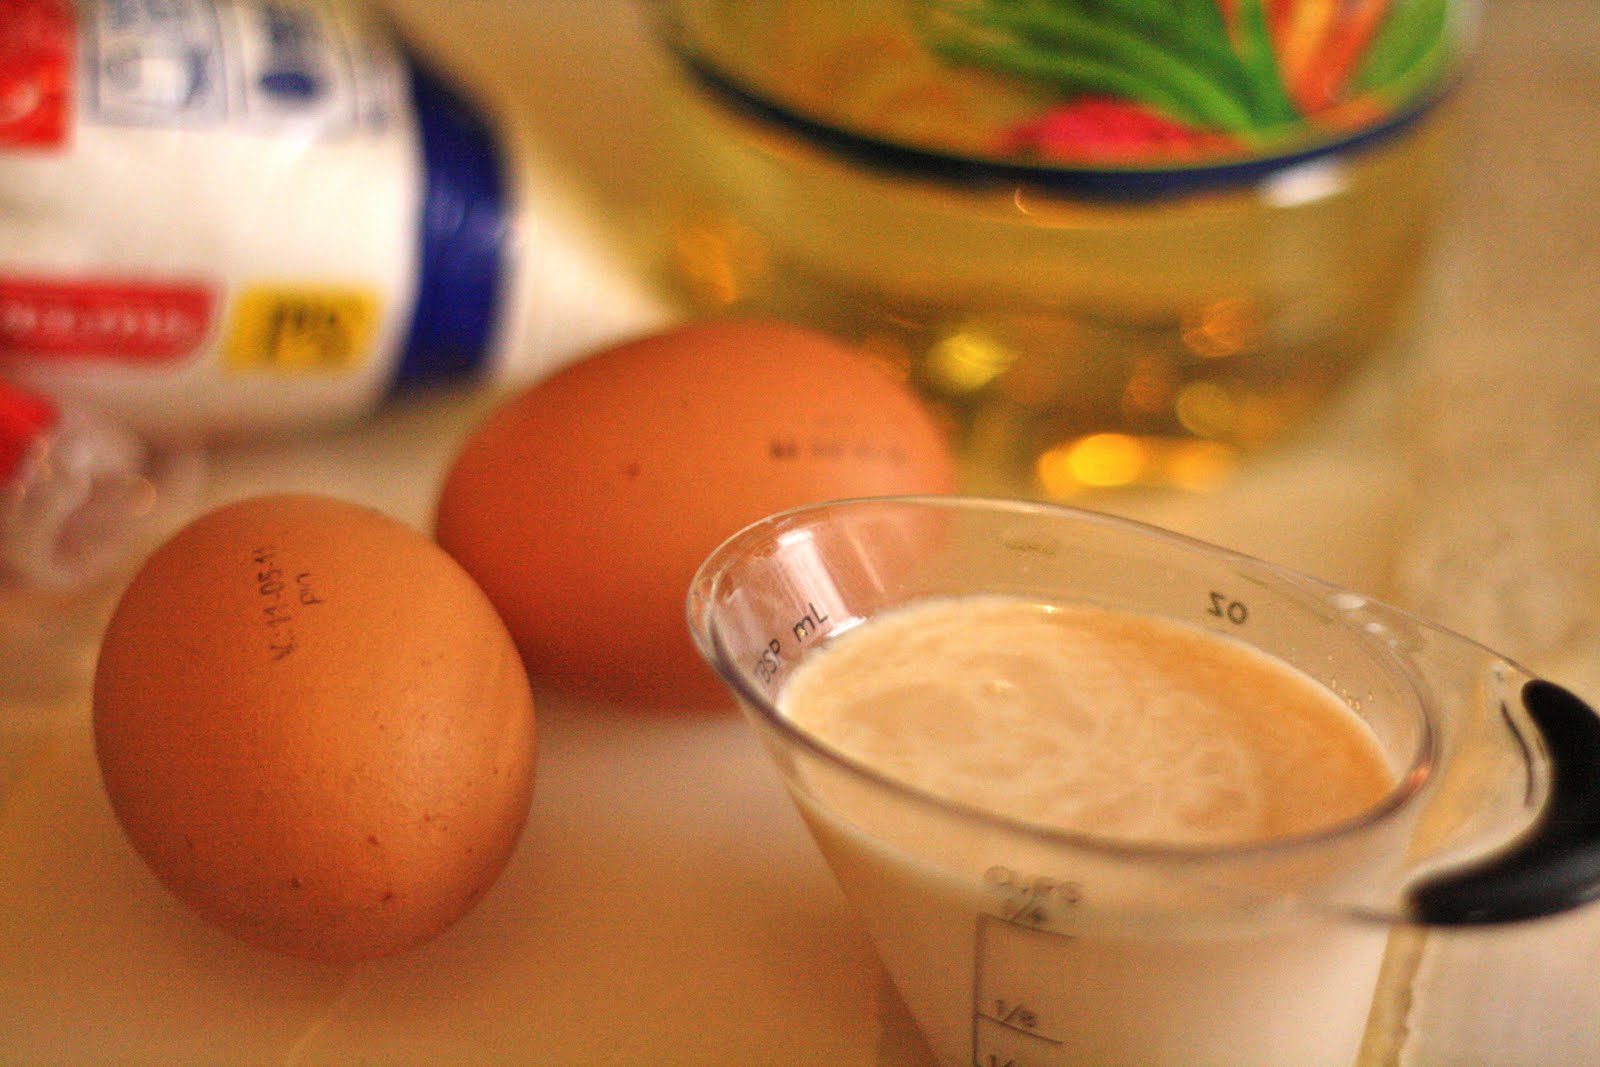
2 beaten eggs
1/4 c orange juice
2 T orange zest
5 1/2 c flour

Then zest some beautiful, bright oranges. Mmmmm.
First, the recipe, because you really are going to want to make these:
1 package yeast (up here you only want to use about a teaspoon or so)
1/4 c warm water
1 c scalded milk
1/3 c sugar
1/2 c shortening (oil would work too)
1 t salt
2 beaten eggs
1/4 c orange juice
2 T orange zest
5 1/2 c flour
Start by scalding the milk over the stove or in the microwave. Scalding is basically heating it to the point just before it boils. Add the sugar and the oil or shortening. You'll need to let it cool a little - to the point that you can stick your finger in it and keep it in there for a few seconds without thinking you are going to burn yourself.

Then zest some beautiful, bright oranges. Mmmmm.

And then juice them.

Sprinkle the yeast over the warm water and let it sit.
Mix the orange juice, zest and eggs.
Then mix all three concoctions together: the orange/egg, milk/sugar/oil and the water/yeast.

Once that is all combined, add the flour, one cup at a time.

To save yourself a little muscle fatigue, you can let your dough hook do some of the kneading.

But I only take advantage of the dough hook for a little while.
There is something simply divine about hand kneading dough. I really and truly love doing it.
(plus, I've got achilles tendonitis so I can't work out.... my 7-8 minutes of kneading was about the only exercise I got all day!)
Your dough will look like this:

A beautiful smooth ball of yummy goodness.
Put that puppy in a lightly greased bowl, cover it and let it rise for a good hour at least - up to two, if need be (until it doubles in size).
I neglected to take a picture of the dough all risen and fabulous.
That is my favorite part - when it is airy and fat.... oh well.
Anyway, punch it down and then after you beat it up, let it rest for a few minutes.
Then it is time to roll it out.
I cut it in half to make it easier to work with, but you could roll the whole thing if you want.
Roll to about 1/2 inch thick and then cut into 1/2 inch (maybe a little wider) strips.

Time to recruit the kids.

I didn't take any good pictures of how you roll up the strips, so you'll just have to use your brain and figure it out for yourself by looking at the pictures. Sorry.
We do them two different ways: the back of the bunny (one strip of dough sort of folded in half, twisted twice and then a blob of dough for the tail) and the side of the bunny (one strip of dough spiraled into a figure eight, with two little pieces of dough made into ears and a little blob for the tail).
I usually dip the pieces for the tails and ears into a little water to help them stick.

This is Mia's special bunny.

And Cade's:

And Lucy's, with a little help from mom:

Maddy just helped with them all.

Now let your little rabbits rise for a good half hour or so.
Meanwhile, heat the over to 375.
Once they have risen a little, stick those puppies (or bunnies, in this case) in the hot oven for 15-20 minutes or until golden brown and utterly luscious.

Take them out and let them cool.
Meanwhile, make some glaze.
Oops, no photos here either..... I'm not very good at this.
The glaze is:
2 T orange juice
2 T hot water
1 t butter
2 cups icing sugar
Just mix it all up and brush, spoon or pour it on those bunnies.

All ready for the kids to eat.
Only thing missing is a photo of them stuffing their faces and relishing the goodness of a little bunny bum.
No comments:
Post a Comment